Five steps to get your module ready
This section describes the process on how to register a new module. Here is a quick overview of the steps from registering to publishing a new module.
Step 1: Start the process by registering your module.
Step 2: Continue the process by developing and testing your module.
Step 3: Provide HortiView with information about your module.
Step 4: Initiate the review of your module. The HortiView Team will review your module and all the information you have provided.
Step 5: After the successful review, you are one click away from publishing your module.
Good to know
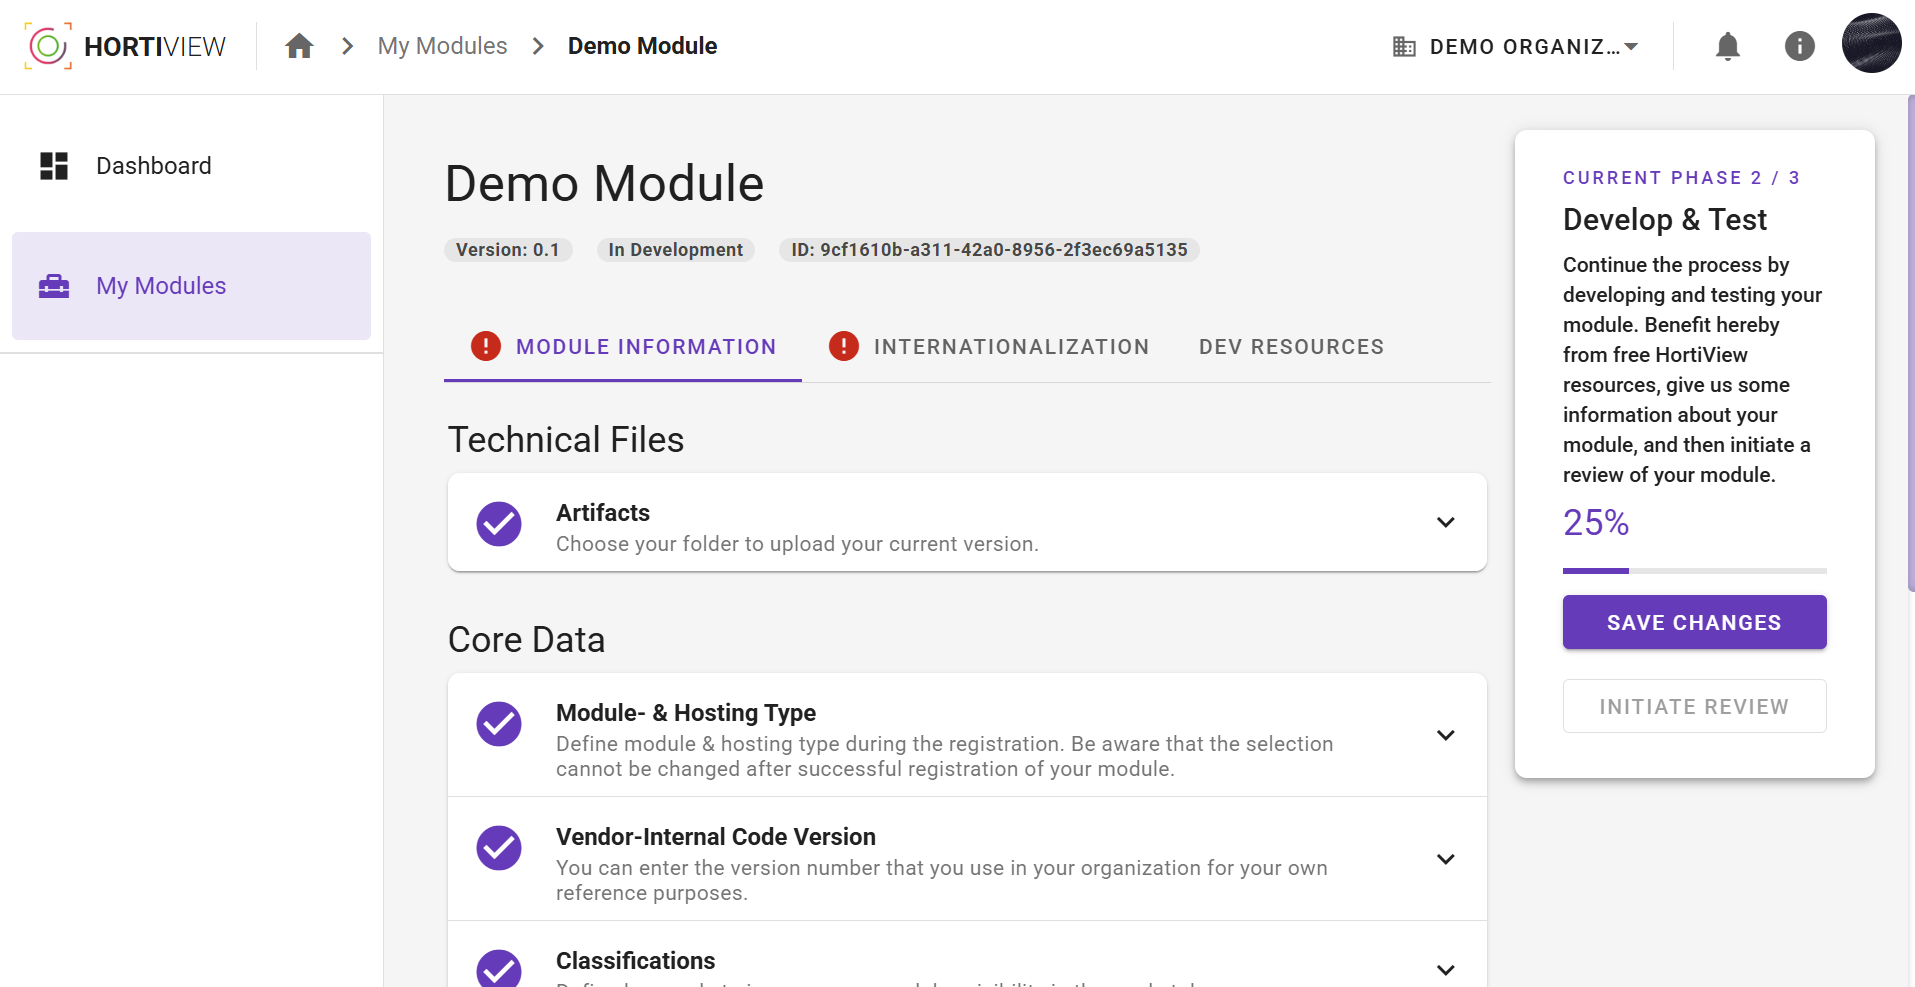
If you're not sure what stage of development you're currently at, take a look at the progress stepper. You can find it on the right-hand side when opening a module. There you will find information on what needs to be done in the current step. The progress bar tells you how much information is missing before you can move on to the next step.
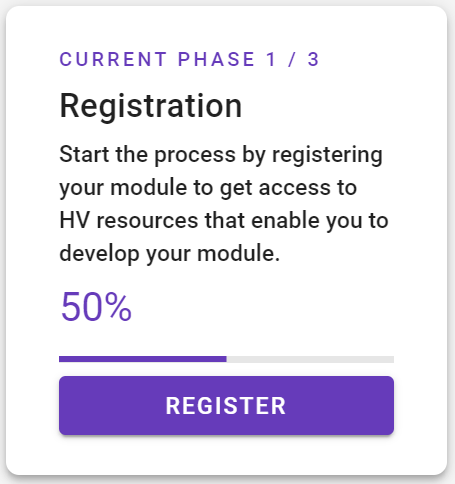
In addition, each of the tabs is evaluated live. Red exclamation marks provide information about missing, required information in the individual tabs.
Module Internationalization
As a vendor, you have the option of publishing your modules in different languages. To make this process manageable, we have divided the module creation into two sections:
- Module information: Here you can enter all general information about your module. These are language-independent.
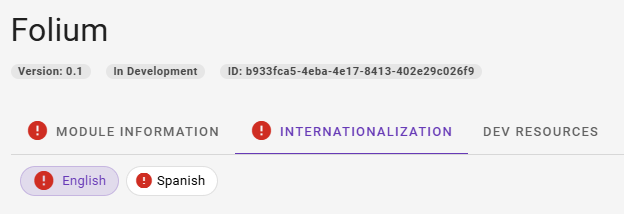
- Internationalization: Here you will find module information that are language-dependent. With the help of chips you can select the current language for which you want to add information.
Important note
Please note that the information you enter during registration are for the English translation of the module. Currently English and Spanish are mandatory.
Step 1: Register your module
- Navigate to My Modules. You find an overview of all your modules there.
-
Click on Create new module to register a new module.
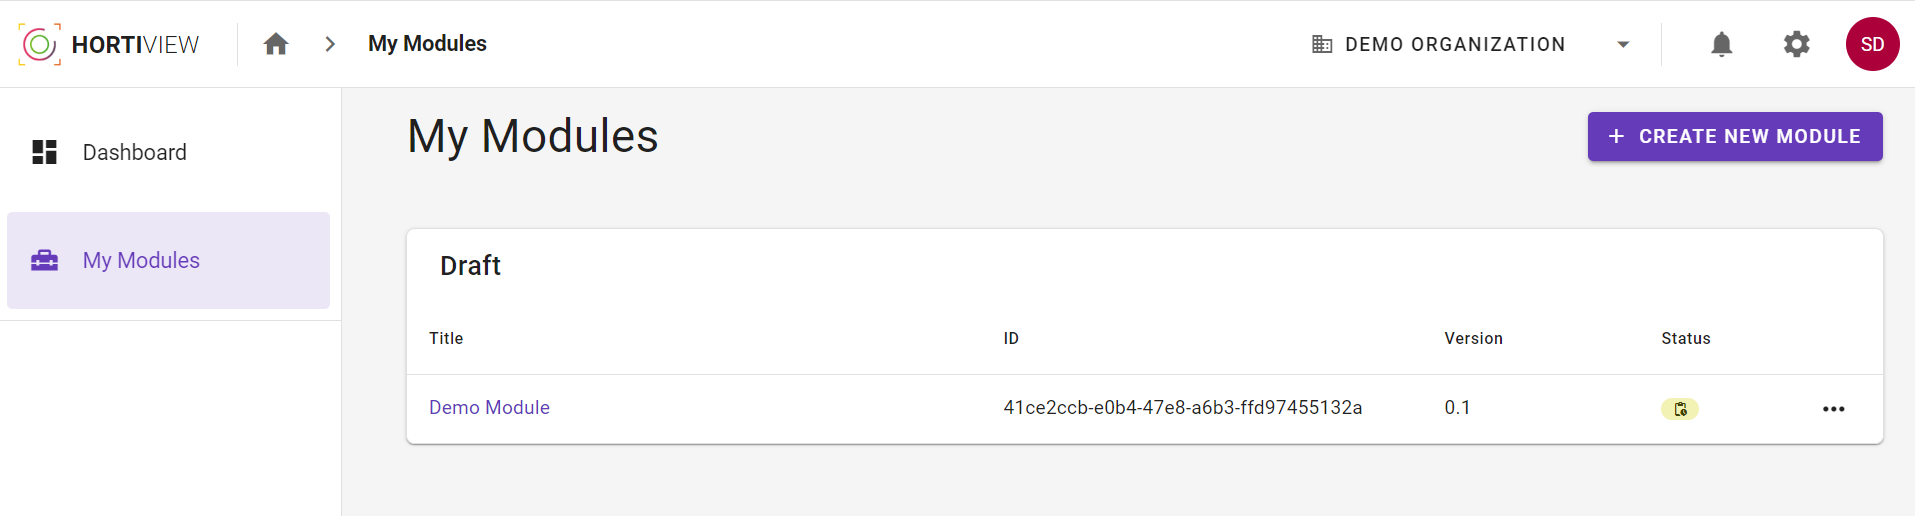
Step 1 - Module List -
Enter all required information.
Step 1.1: Module Information
- Name: Choose a module name that is both unique and descriptive.
- Shortname: Modules are distinguished by their short names, among other things. Therefor the shortname must be unique.
- Module Description: Describe the core functionality of your module.
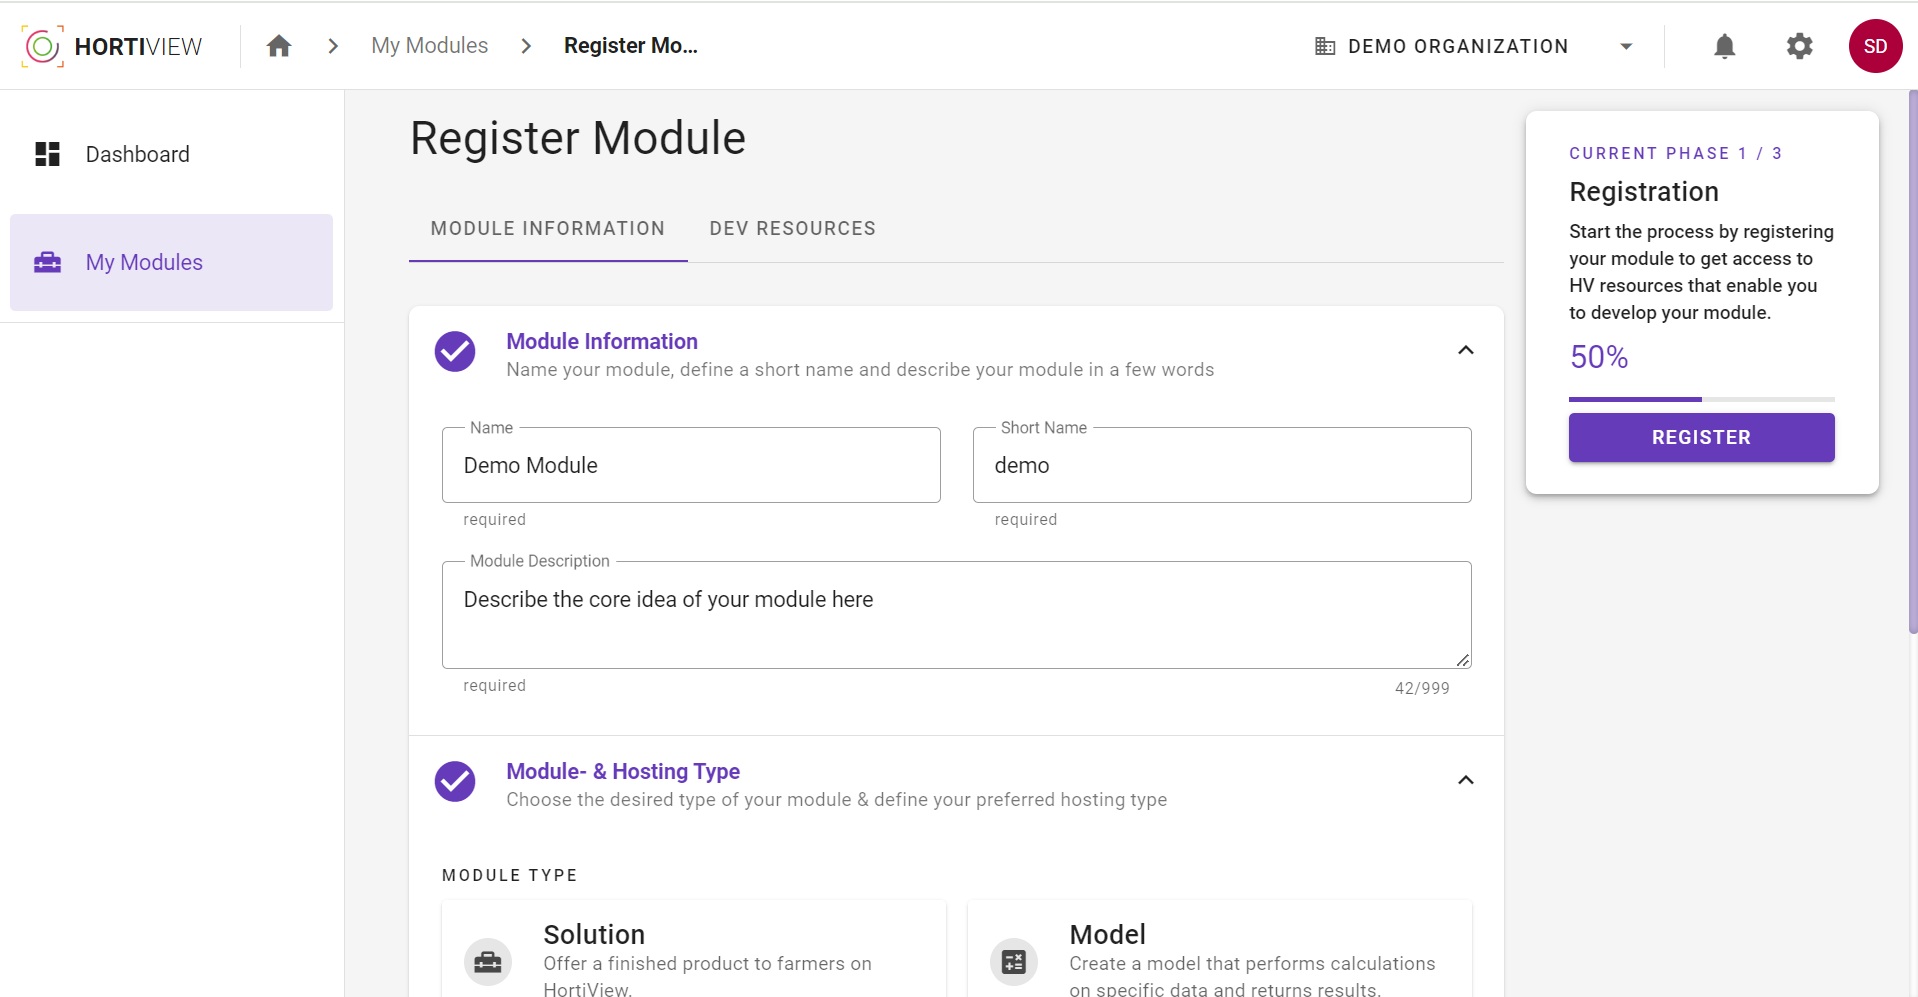
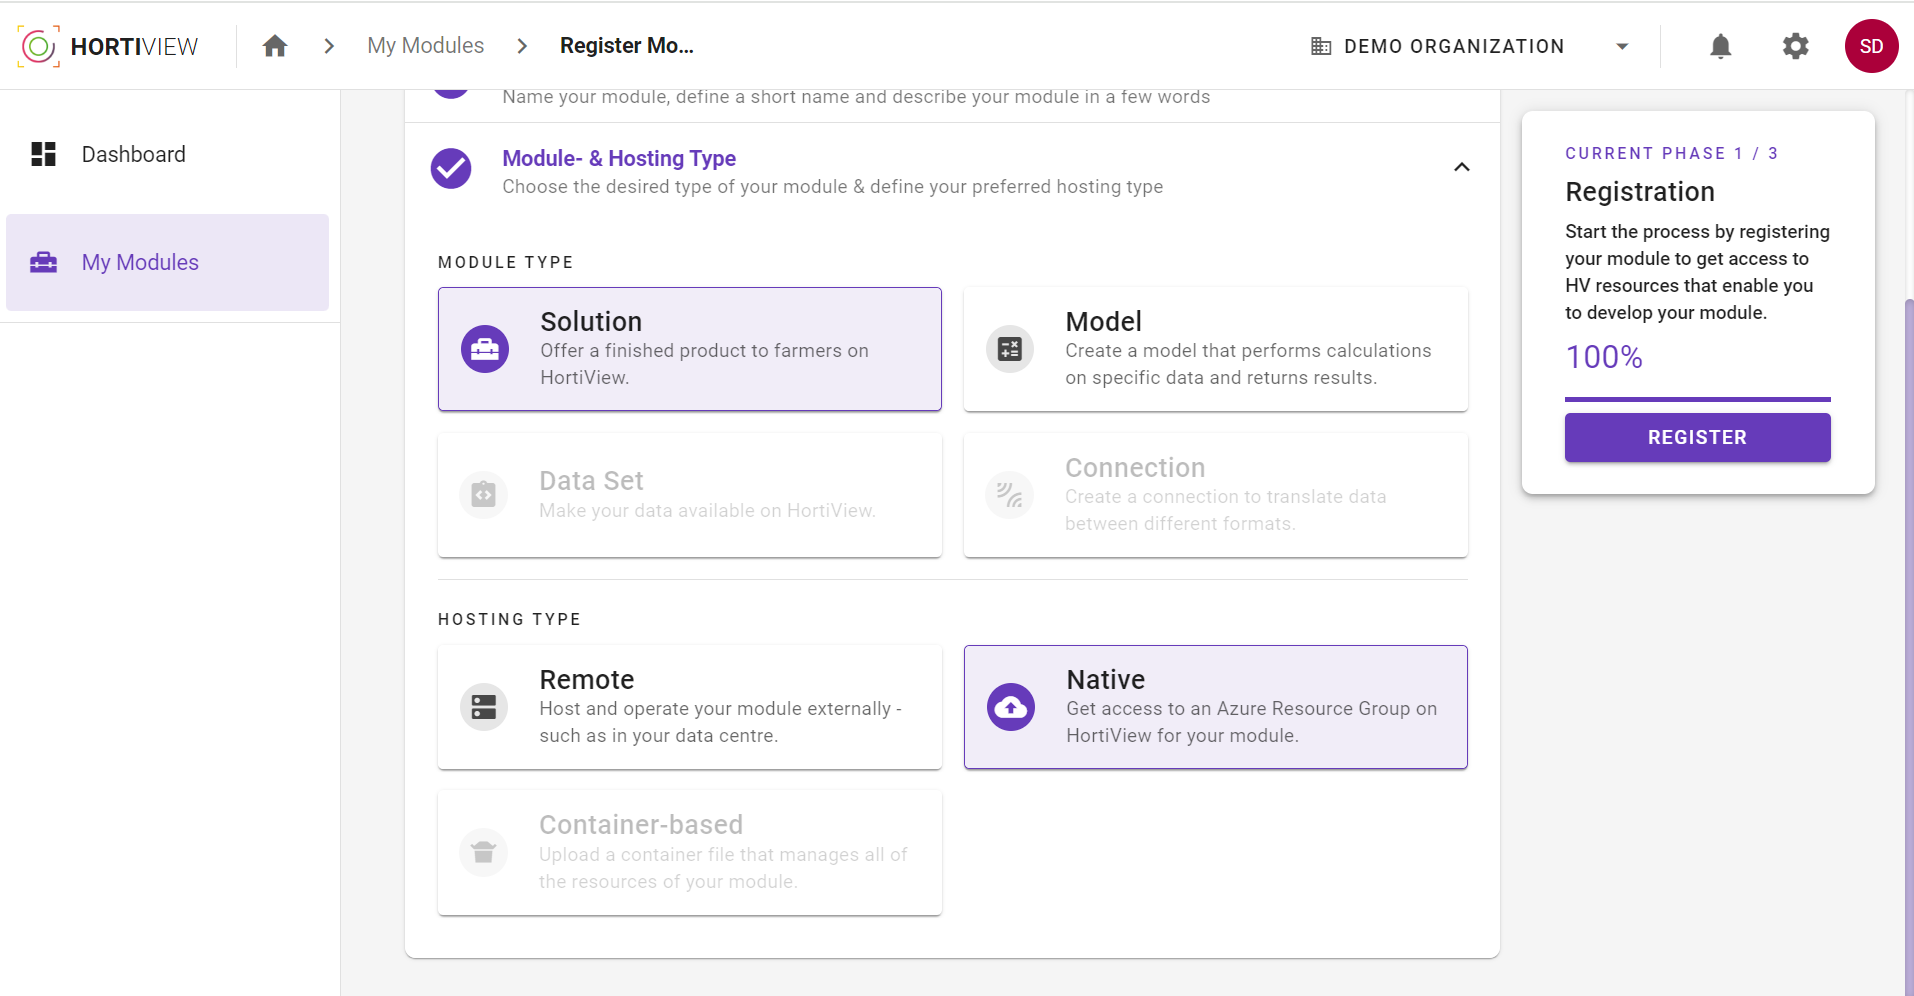
Step 1.2: Module- and Hostingtype
Currently supported module- and hostingtypes
In the current state of development, it is only possible to select the moduletype solution and the hostingtype native.
Moduletype
-
Solution
Offer a finished product to farmers on HortiView.
-
Model
Create a model that performs calculations on specific data and returns results. (Not available yet!)
-
Dataset
Make your data available on HortiView. (Not available yet!)
-
Connection
Create a connection to translate data between different formats. (Not available yet!)
Hostingtype
-
Remote Hosting
Your module consists of a frontend in e.g. React which is to be deployed to HortiView. You can still use your own backend with your backend logic which is to be hosted outside of the platform. (Not available yet!)
-
Container Based Hosting
Your module frontend and backend is bundled into a container which is deployed and hosted by the platform. (Not available yet!)
-
Native Hosting
Your module can be hosted on your own Azure Cloud platform resources issued and managed by HortiView.
Warning
Please note that it is not possible to change the module- or hostingtype after the registration of your module is finished. It is of course always possible to register a new module.
Step 2: Develop your code
Now you have to develop your code following the guides you can find here Guides
After developing the module code you are all set to share your assets for review. Please follow the steps below to provide all additional module information!
Test your application in HortiView
ToDo: Add link to information about how to use the local debug module.
Step 3: Information about your module
In this section we explain how you can provision your code and other assets to get your module ready for the review.
Info
Not all information requested in the form can be currently updated/ saved to the database due to work in progress. Additionally it is currently not necessary to enter all information in order to publish a module.
-
Navigate to My Modules. You find an overview of all your modules there.
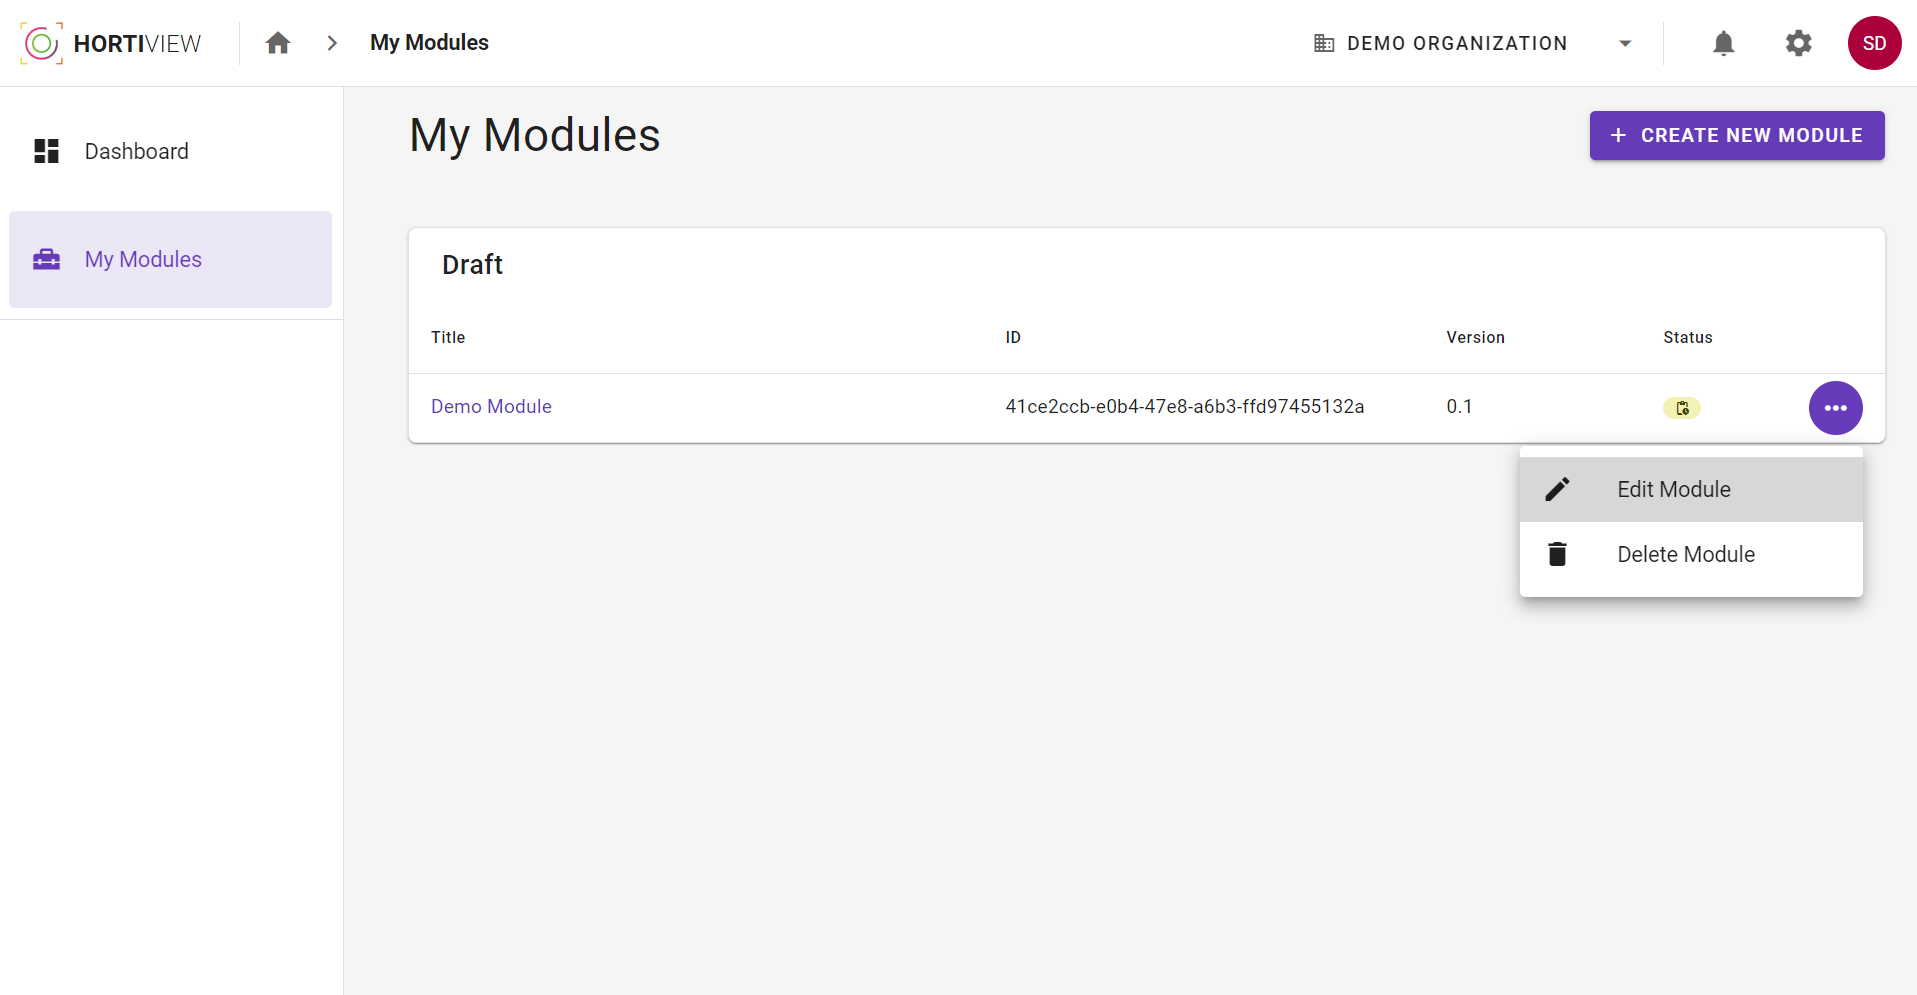
Your module overview -
Choose your module and click on Edit module.
-
Fill in your information in all parts of the form.
Saving your progress
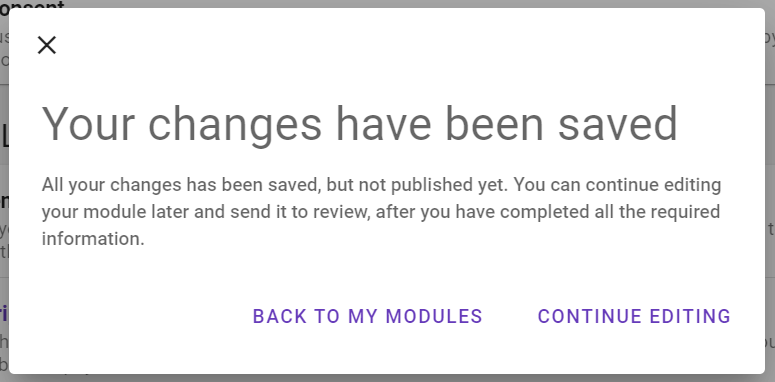
Please consider, that the form can be filled stepwise. Each step will be saved and the progress is indicated. The "Save changes" button is located on the right-hand side inside of the progress stepper. This can be used to save all the information entered at any time.
A pop-up window informs you when the data have been saved successfully.
3.1: Artifacts
After developing your module and building your code you can upload you module files here.
Build folder
Please make sure to upload your entire build folder. It must not be zipped. If you have created a new build, you can restart the upload process as before - the latest build folder will always be used.
To upload your build folder click the Select folder button or drag´n´drop your build folder into the grey area. Then click the Upload all button to upload all files of your build folder.
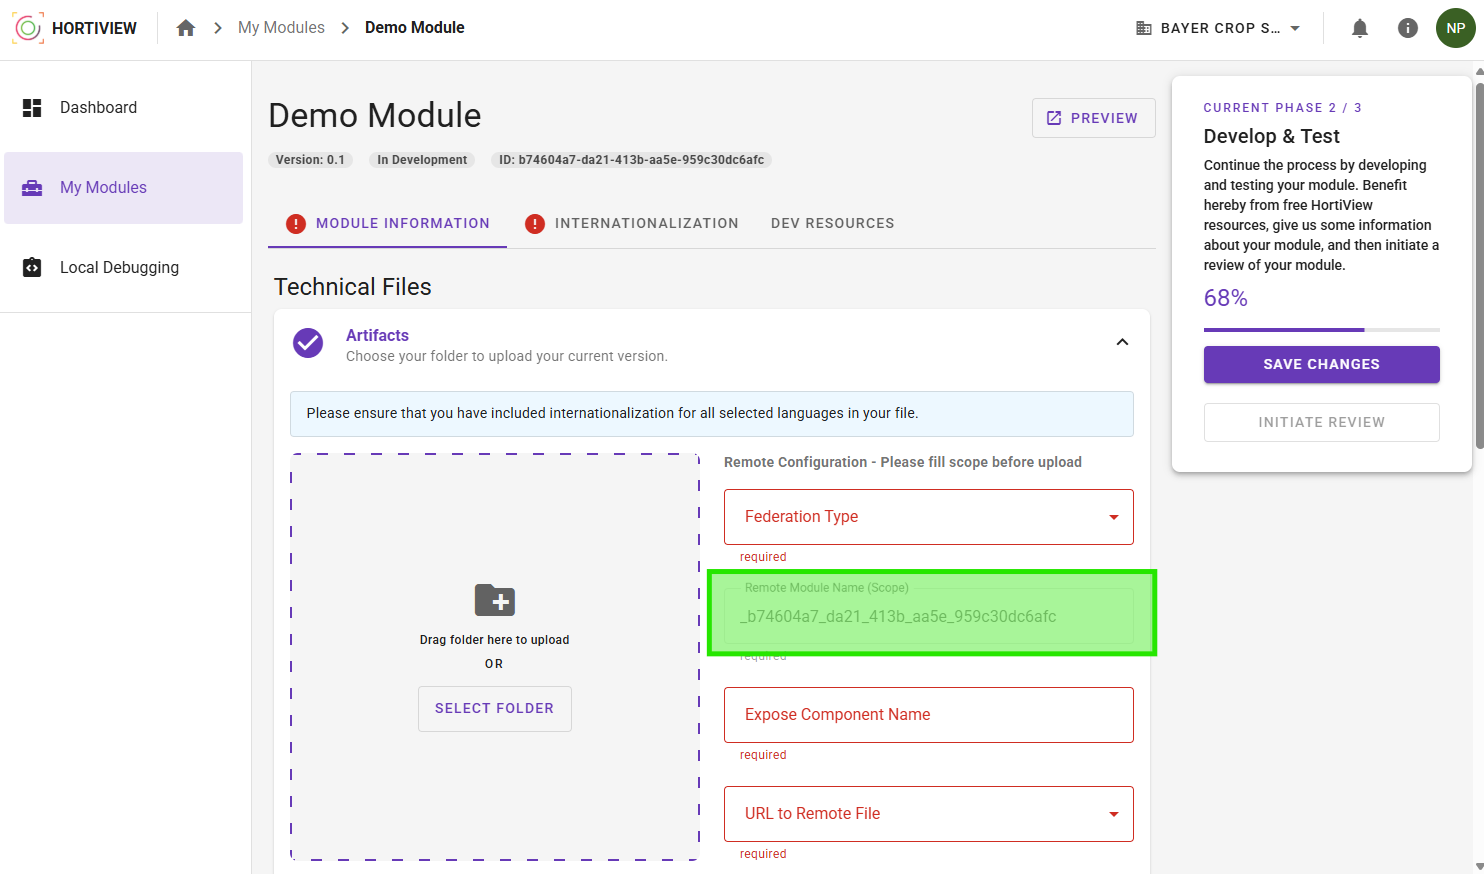
After the successful file upload, enter all further information. You can use your hvconfig.json (module federation config) as a guide:
scope cannot be changed
The scope (also called "name" in the module federation itself) will be derived from your module ID by replacing all dashes with underscores and prefixing it with an underscore. You must use this value as the name within the module federation configuration. Following the example, your configuration would look similar to this:
{
  "name": "_b74604a7_da21_413b_aa5e_959c30dc6afc",
  "filename": "yourRemoteFileName.js",
  "exposes": {
    "./YourComponentName": "./src/Template/RemoteTemplate"
  }
}
For more information, check out the example configuration of the react-template.
-
Federation type: React or Angular modules can currently be published.
-
Remote module name (scope): This is the internal module name. It must match the name property in your module federation config file. This value is predefined by HortiView and derived from your module ID, starting with an underscore. Ensure that you use this value in your hvconfig.json for your module.
- Expose component name: Name of the component that is called up as an entry point. Starts with "./". This has to match the exposes property key in your module federation config file.
- URL to remote file: The name of your modules entry file. This has to match the filename in your module federation config file
Here is an example configuration file with the corresponding completed form:
{
  "name": "_your_module_id",
  "filename": "yourRemoteFileName.js",
  "exposes": {
    "./YourComponentName": "./src/Template/RemoteTemplate"
  }
}

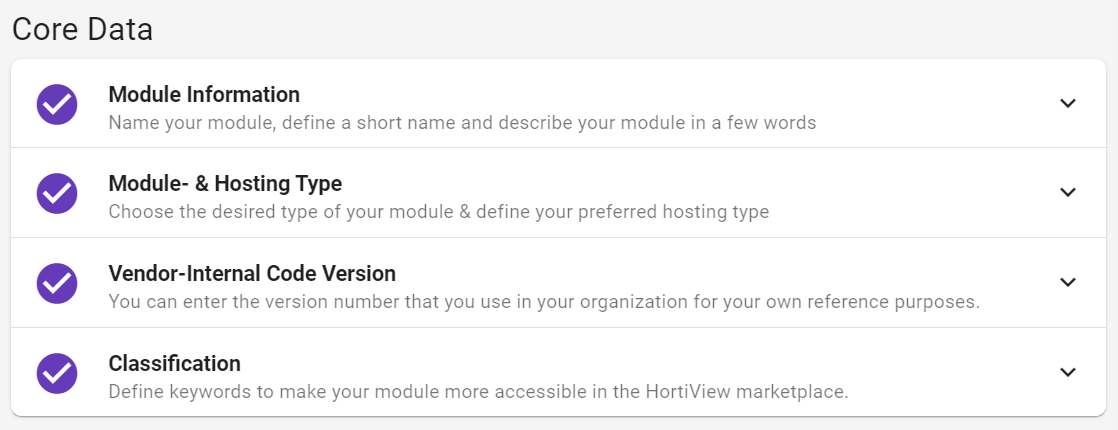
3.2: Core Data
You can enter basic information about your module in the core data section. Here is an overview:
Module Information [Internationalization-Tab]
These fields can be found in the Internationalization tab.
For more detailed information, have a look this section: Step 1.1
Module- and Hostingtype
For more detailed information, have a look this section: Step 1.2
Warning
Please note that it is not possible to change the module- or hostingtype after the registration of your module is finished. It is of course always possible to register a new module.
Vendor Internal Code Version
You can enter the version number that you use in your organization for your own reference purposes.
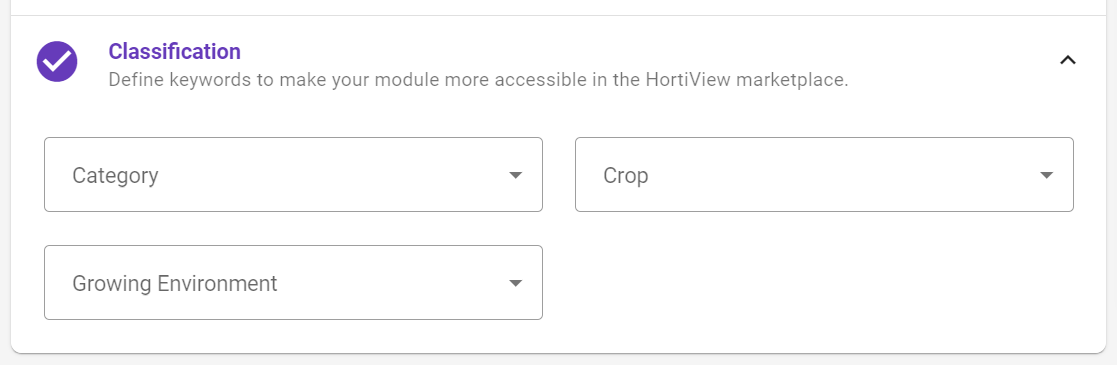
Search Classifications for the Marketplace
The information provided here is used to make your modules simpler to find in the Marketplace. The classification should make it easier for farmers to find the best modules for them.
-
Category: You can select one category to which your module can be thematically assigned.
The following categories are available for selection: t.b.d.
-
Growing Environment: Select growing environments to which your module is related. Multiple growing environments can be selected.
The following growing environment are available for selection:
Glasshouse, Greenhouse, Open Field, Orchard, Vertical Farm. -
Crop: Determine which crops agricultures can be supported by your module. Multiple crops can be selected.
The following crops are available for selection:
Apple, Banana, Berries, Citrus, Grapes, Potatoes, Tomatoes.
3.3: Technical Information
System Requirements [Internationalization-Tab]
These fields can be found in the Internationalization tab.
Here you can specify wether user devices must fulfill any requirements for the proper functioning of your module. Third-party dependencies can be the following, for example Pessl Sensor, Windows 10 or other technical specifications.
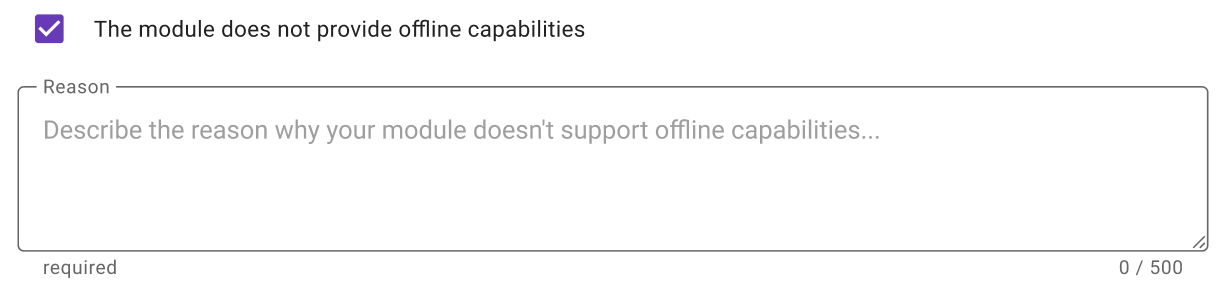
Offline Capabilities
Specify wether you have provided offline capabilities. Is it possible to use your modules in case of low or no internet connection without losing data or functionality? You can find guidance on how to implement offline capabilities here [t.b.d.].
If you do not offer offline capabilities please describe the reason why.
Data Consent Declaration
Select the data areas which are consumed by your module. Please also include any data used by third-party modules that are integrated in your module.
This information is used for the module assessment and provided to the farmer during subscription. The farmer must consent to the use of this data when installing your module.
You can select multiple data consents. The following are available for selection:
Vendor Business Management, Vendor Modules, Vendor Organization, Vendor Member, ADMA Masterdata, Farm Application, Personal Information, Farm Business Management, Personal Location, ADMA Sensors, Farm Member, Farm Organization, Personal Association.
Alert Rules
Draft
Please note that the process described below is not in its final state. Its in constant development.
You can define and upload Rule-Definitions for your module.
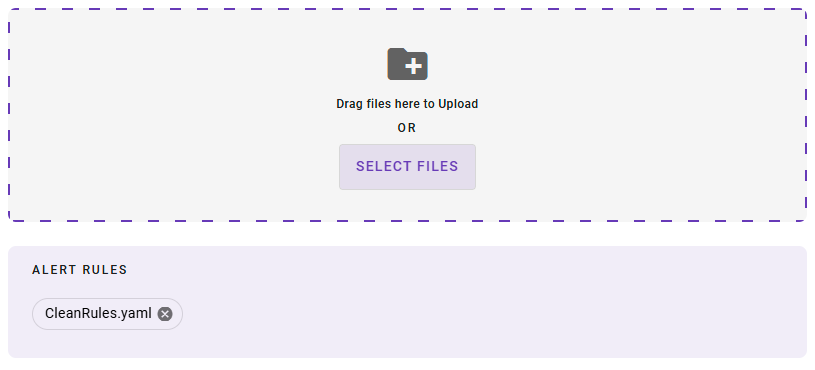
A Rule-Definition, also referred to as "Criteria", basically defines data, that changes and can be listened to. Rule-Definitions for your module get interpreted in the Alert Management, where farmers can configure rules1 (based on those Rule-Definitions), that will rise a notification2, if that rule gets "called". You, as a Vendor, can evaluate the rules to decide whether it has occurred and a notification needs to be triggered.
A Rule-Definition needs to contain a key/identifier, operator(s) and possible values (if they are not dynamic, like for integers). They can also contain other properties, depending on the data-type.
Full guidelines for Alert Rules and Alert Management: Alerts
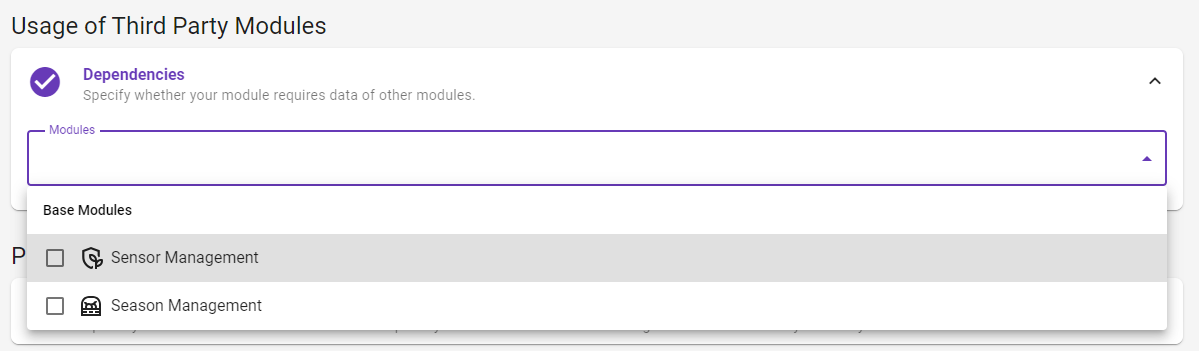
3.4 Usage of Third Party Modules
Dependencies
Draft
Please note that the process described below is not in its final state. Its in constant development. You can only reference base modules for now.
You can define dependencies to other modules that an organization needs to own in order to use your module. Defining dependencies in this way ensures that the module works as expected and all requirements are fulfilled.
3.5: Payment & Legal Information
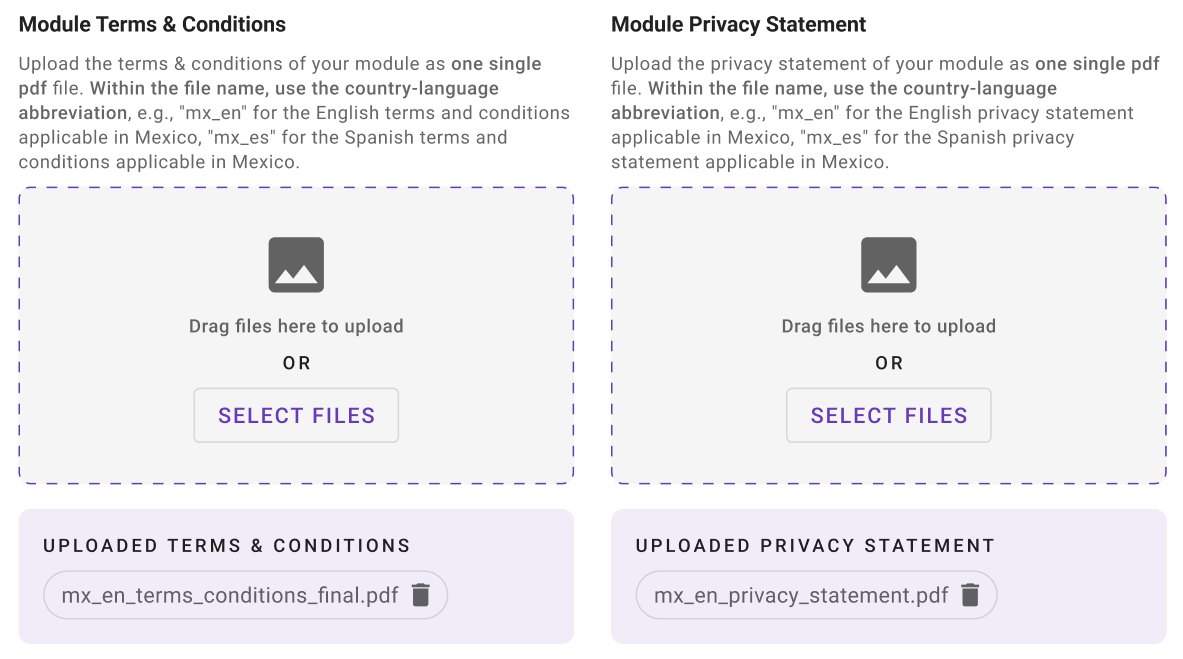
Legal Information [Internationalization-Tab]
These fields can be found in the Internationalization tab.
Upload your own terms and conditions and data privacy statement. Subscribers must agree to them before they can use your module.
Here you can provide two types of documents in .pdf format:
- Terms & Conditions which are additional legal terms (besides the platform terms) that the user has to agree to in order to access the module service.
- Privacy Statement additional terms on how private data is used by your module to agree with the user by law.
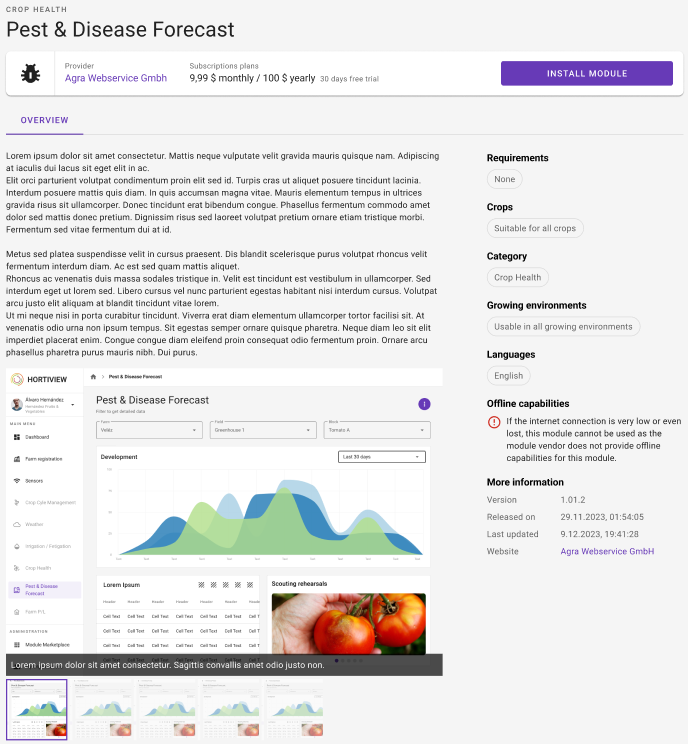
3.6: Marketing
The next image shows a detailed view of a module in our marketplace. A potential subscriber can use this to find out more about your module. To provide even more detailed information about your module, you have the option of entering various marketing information in the following section.
Website [Internationalization-Tab]
These fields can be found in the Internationalization tab.
Provide a link to your website which will be visible to potential subscribers.
Please note that the website must begin with https://.

Module Description [Internationalization-Tab]
These fields can be found in the Internationalization tab.
Provide a short and a detailed description about your module which will be displayed to potential subscribers in the marketplace.
In the image below you can see an example view of a module in our marketplace. The description shown is the short description.

Logo & Images [Internationalization-Tab]
These fields can be found in the Internationalization tab.
Upload a module logo of your product to be displayed in our marketplace. The module logo should be a square format. The maximum upload size is 512x512 px in a png-file format. If not provided the icon of the category which you have selected will be used.
Provide up to 5 images or screenshots of your module which will be displayed on your module details page, accessible via the marketplace. The maximum upload size of one image is 1MB.
Contact for Subscribers
Select an organization member as point of contact for potential subscribers of your module.
Step 4: Initiate the Review [MVP]
Temporary Solution
Please note that the process described below reflects the current status of the MVP phase. This is not a final solution, but a temporary one.
Once the form is properly filled you can advance your module to the next phase. To do so click the Initiate Review button inside of the progress stepper. A pop-up window will open asking if you really want to continue to the review. Select "Send for review".
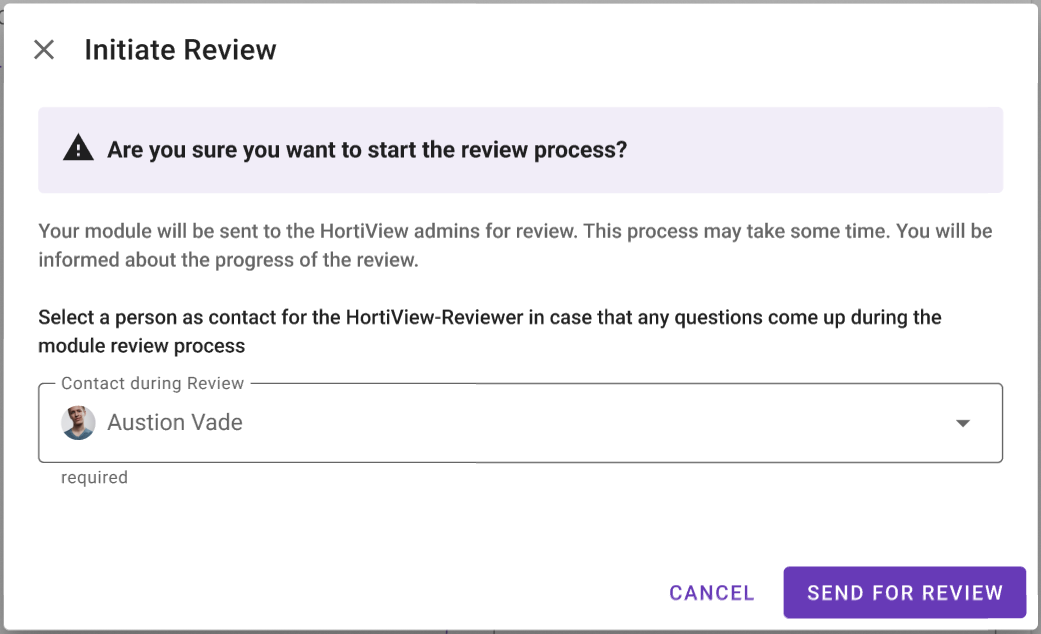
If this step was successful, you will be redirected to the module list. Your modules should now appear in the "Currently in Review" table.
Currently, modules can be published independently by the vendor. How this works is described in the next section.
Step 5: Ready to Publish to the Marketplace [MVP]
Temporary Solution
Please note that the process described below reflects the current status of the MVP phase. This is not a final solution, but a temporary one.
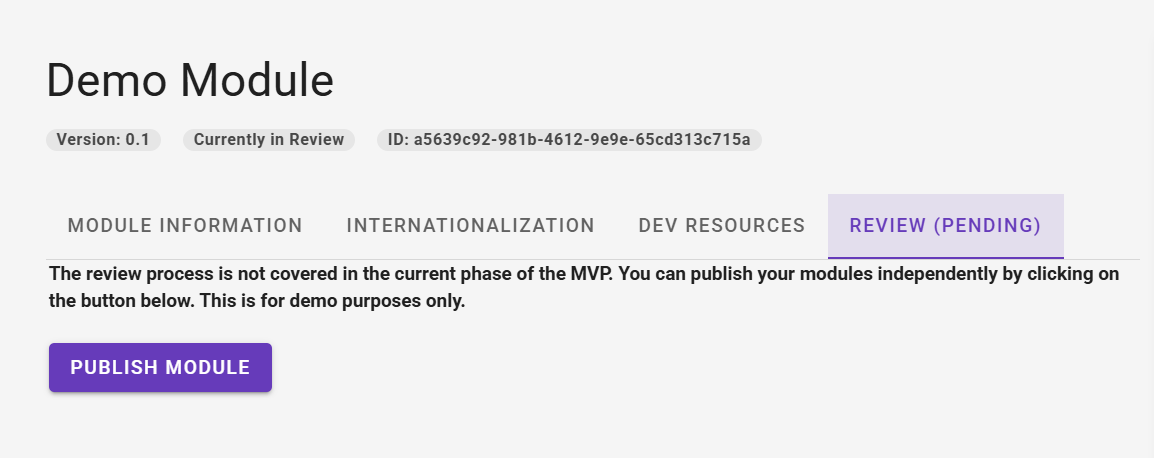
Navigate to My Modules. Select the module you would like to publish to the marketplace. Open the module by clicking on Edit module.

You should now see another tab "Review (Pending)" in the tab bar. Select this one. There you will find a "Publish module" button. If you click it, your module will be published and is now accessible in the Marketplace.
Making changes after publishing your module
You can update your published module at any time. By saving the changes they are immediately available to subscribers. Please note, that you do not have to resubmit your module for review. Saving the changes is sufficient.